A foundation for real-time 3D: Automate CAD-to-3D conversion, organize assets, and collaborate in the cloud

Your organization’s CAD and BIM data is a valuable source that can be transformed into 3D assets for real-time interactive applications like digital twins, training applications, human-machine interfaces (HMIs), and product configurators.
But it might be hard to realize this value if your data is scattered across siloed teams and organizations. For example, teams can own a different version of the same model, making it difficult to reuse it in an efficient, value-adding way.
From dispersed data to a central hub for 3D assets

Organize, tag, and collaborate on your organization's 3D assets in Unity Asset Manager
By transforming your data into 3D assets and organizing them in a central platform, you create a critical starting point for building with them. Any team can explore ideas and prototype with the latest versions of any asset.
Ultimately, you’re paving the way to developing real-time interactive applications that you can deploy anywhere, to anyone, across multiple platforms.
Unity Industry provides an ecosystem of tools and services that organizations can use to convert CAD and BIM data to optimized 3D assets, organize and collaborate on those assets, and create almost any kind of real-time 3D application.
This article highlights three video tutorials that focus on a collaborative layer within the Unity Industry ecosystem: the cloud-based Unity Asset Manager, a digital asset management system that enables teams to upload, manage, transform, share, and access their real-time 3D assets.
Key takeaways: Unity Asset Manager
- Unity Asset Manager provides a centralized repository for all 3D assets across your organization, and preserves metadata, version history, and lifecycle status so teams can always pull from a single approved source.
- Version control and team collaboration tools reduce fragmented feedback by letting teams comment directly on assets, compare versions, and track approvals in one shared workflow.
- Pipeline automation enables you to automatically convert and optimize a newly uploaded CAD file to a 3D asset according to the standards required by a specific project, without manual intervention.
Ingest, inspect, and optimize your assets
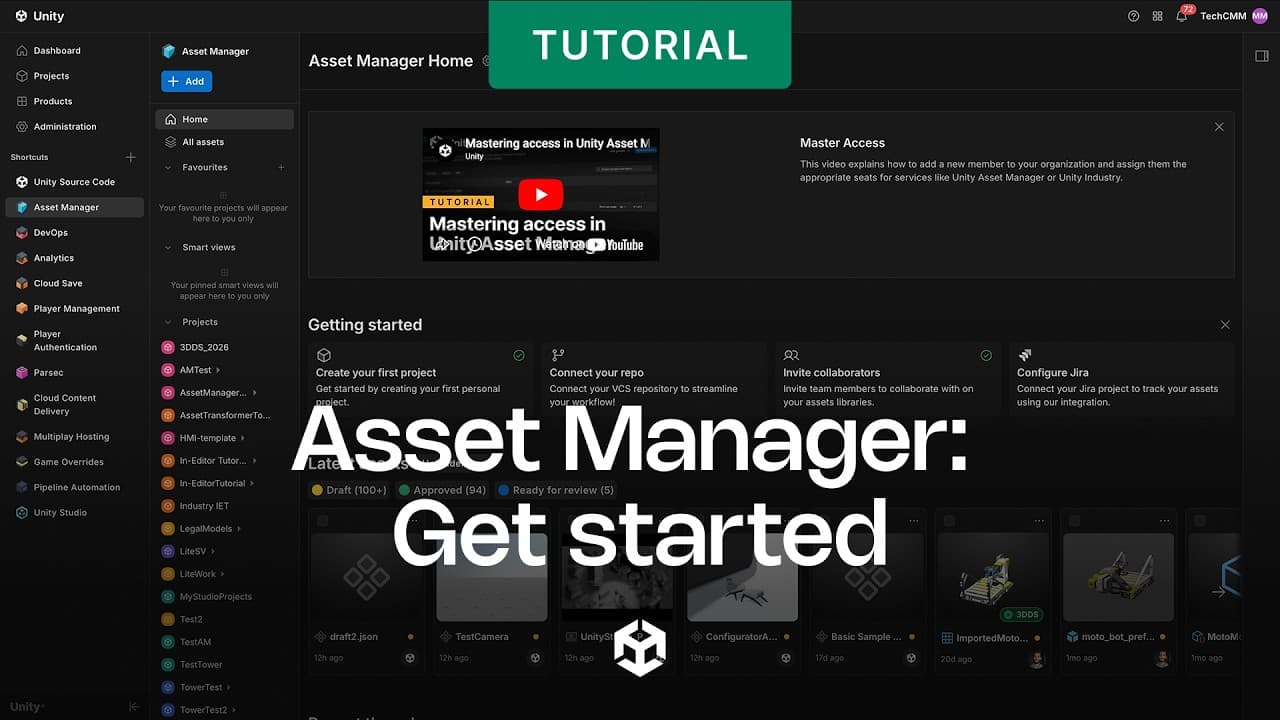
Import your 3D data, organize it with structured metadata, control access, and prepare assets for use across real-time interactive applications.
In this video, you’ll learn the steps to:
1. Upload CAD files into a project, organize them into collections, and add metadata.
- Metadata and tags make assets easier to find: Add tags that describe usage, product line, or platform.
- Create one custom metadata field to capture information that matters to your team. Choose a type such as text, number, Boolean, or a list of predetermined values, and set the values in the custom field.
2. Inspect geometry, materials, and hierarchy in the 3D viewer and run optimization and conversion.
- A built-in 3D viewer lets teams inspect the complete hierarchy of an asset, including parts, assemblies, and subcomponents.
- Rotate, zoom, and pan to inspect the model, select elements to examine properties, use environment settings, or isolation to better review your 3D model.
3. Optimize the asset and update its metadata to reflect changes.
- Optimize and convert a source asset.
- Enable only the optimizations you want, like mesh cleaning or polygon reduction.
- Select a target format that fits your destination, e.g., FBX for Unity Editor or GB for Unity Studio.
- Add any final metadata and tags.
- Move the asset to a collection for finished or shared assets and set its status, such as Draft, In Review, or Published.
Tip: For extended conversion and optimization features, use Unity Asset Transformer. You can import any heavy 3D or CAD file type and eliminate the need for multiple imports or model recreation. You get full control over mesh size and quality so you can optimize data for performance on your target devices.
Learn more about using the Asset Transformer Toolkit in industrial applications from the Industry Fundamentals template.
Compare versions, validate, and centralize feedback
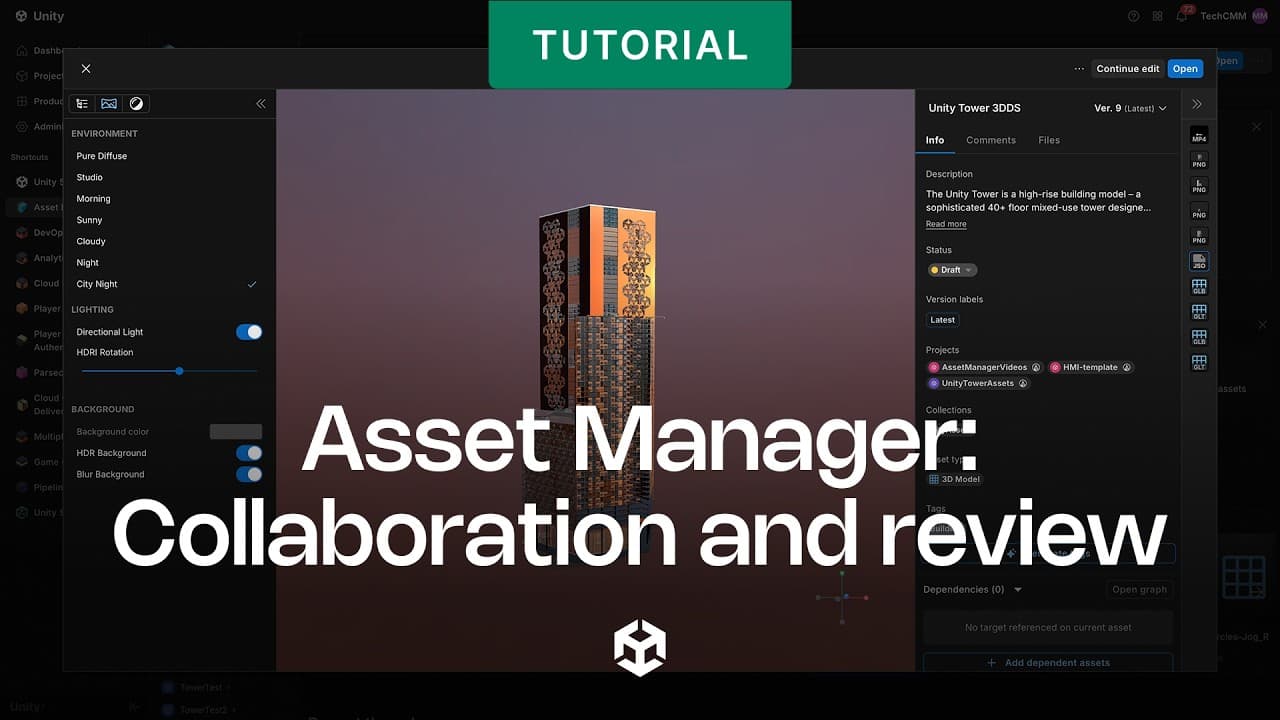
Learn how to review assets, provide feedback, and keep that feedback centralized and connected to specific projects and work:
1. Begin collaborating with stakeholders and colleagues.
- Invite collaborators and assign roles to ensure they have access to the right assets.
2. View an asset, leave comments, and modify.
- Use the 3D viewer to view the asset. Zoom in on geometry by pressing the F key. Expand the hierarchy to see how the asset is structured.
- Click Annotate and select the pen to draw directly on the view. After you finish your annotation, add a comment, click Send, and a screenshot of your annotation is automatically attached to your comment.
- Modify assets: Add, remove, or replace files that make up the asset.
- Update the data within its asset and its preview.
- Before saving, describe your changes, add labels, and modify any data that must stay in sync with the files.
3. Compare any two versions to understand changes.
- View a list of every version that describes what's changed and who made the changes. Select an older version to view it in the viewer.
- Once your asset is validated and ready for production, set its status to Publish to signal that it's approved and ready to use.
- Add a final note that summarizes the state of the asset so anyone who finds it understands how and where it can be used.
Automate each step in your CAD-to-3D asset pipeline
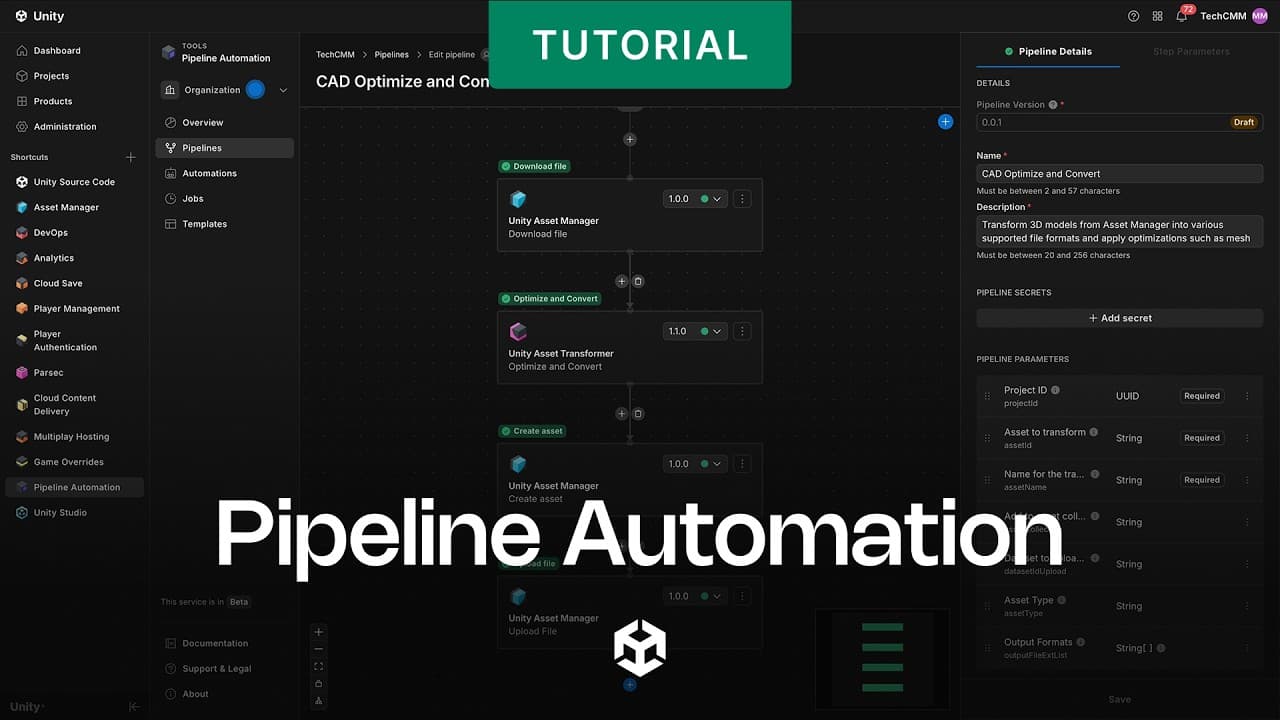
There are three parts to pipeline automation:
- Pipelines are sequences of steps that process assets.
- Automations define when pipelines run.
- Jobs are individual executions of a pipeline that run these steps.
In this video, you’ll learn how to build your first automated pipeline in Unity Asset Manager, including these steps:
1. Prepare your workspace.
- Log in to the Unity Dashboard and add Pipeline Automation to your shortcuts.
- Ensure your organization’s administrator has granted you the Automation Developer role.
2. Create and validate your pipeline.
- Open the Templates view and choose the Optimize and Convert 3D Asset template. This template provides four setup steps with the option to add your own custom steps as needed. The four steps are:
- Download the source file from the Asset Manager into the temporary Pipeline Workspace.
- Optimize and convert the model, apply polygon reduction and convert into a file format like FBX.
- Create a new asset entry in the Asset Manager
- Upload the optimized file into the Asset Manager.
- Run the pipeline manually on a sample project to ensure it processes assets correctly.
3. Configure event-based automation.
- Create a new event-based automation.
4. Verify and test the automation.
- Use an automation bot with administrative access to trigger the process.
- Create or update a 3D model asset to fire the submission event.
- Confirm the job status and verify the newly created optimized asset in your dataset.
Watch this tutorial series to learn more about how Unity Asset Manager, as part of the Unity Industry tool chain, can help organizations eliminate version drift, reduce rework, accelerate review cycles, and make 3D assets accessible and actionable for developing real-time interactive applications.


